Hatching and Raising Coturnix Quail Unit
Lesson 7/7
Let's Talk About Our New Life
In this lesson, the students will review all of the steps we went through to acquire the quail eggs through the incubation, hatching, watering and feeding process.
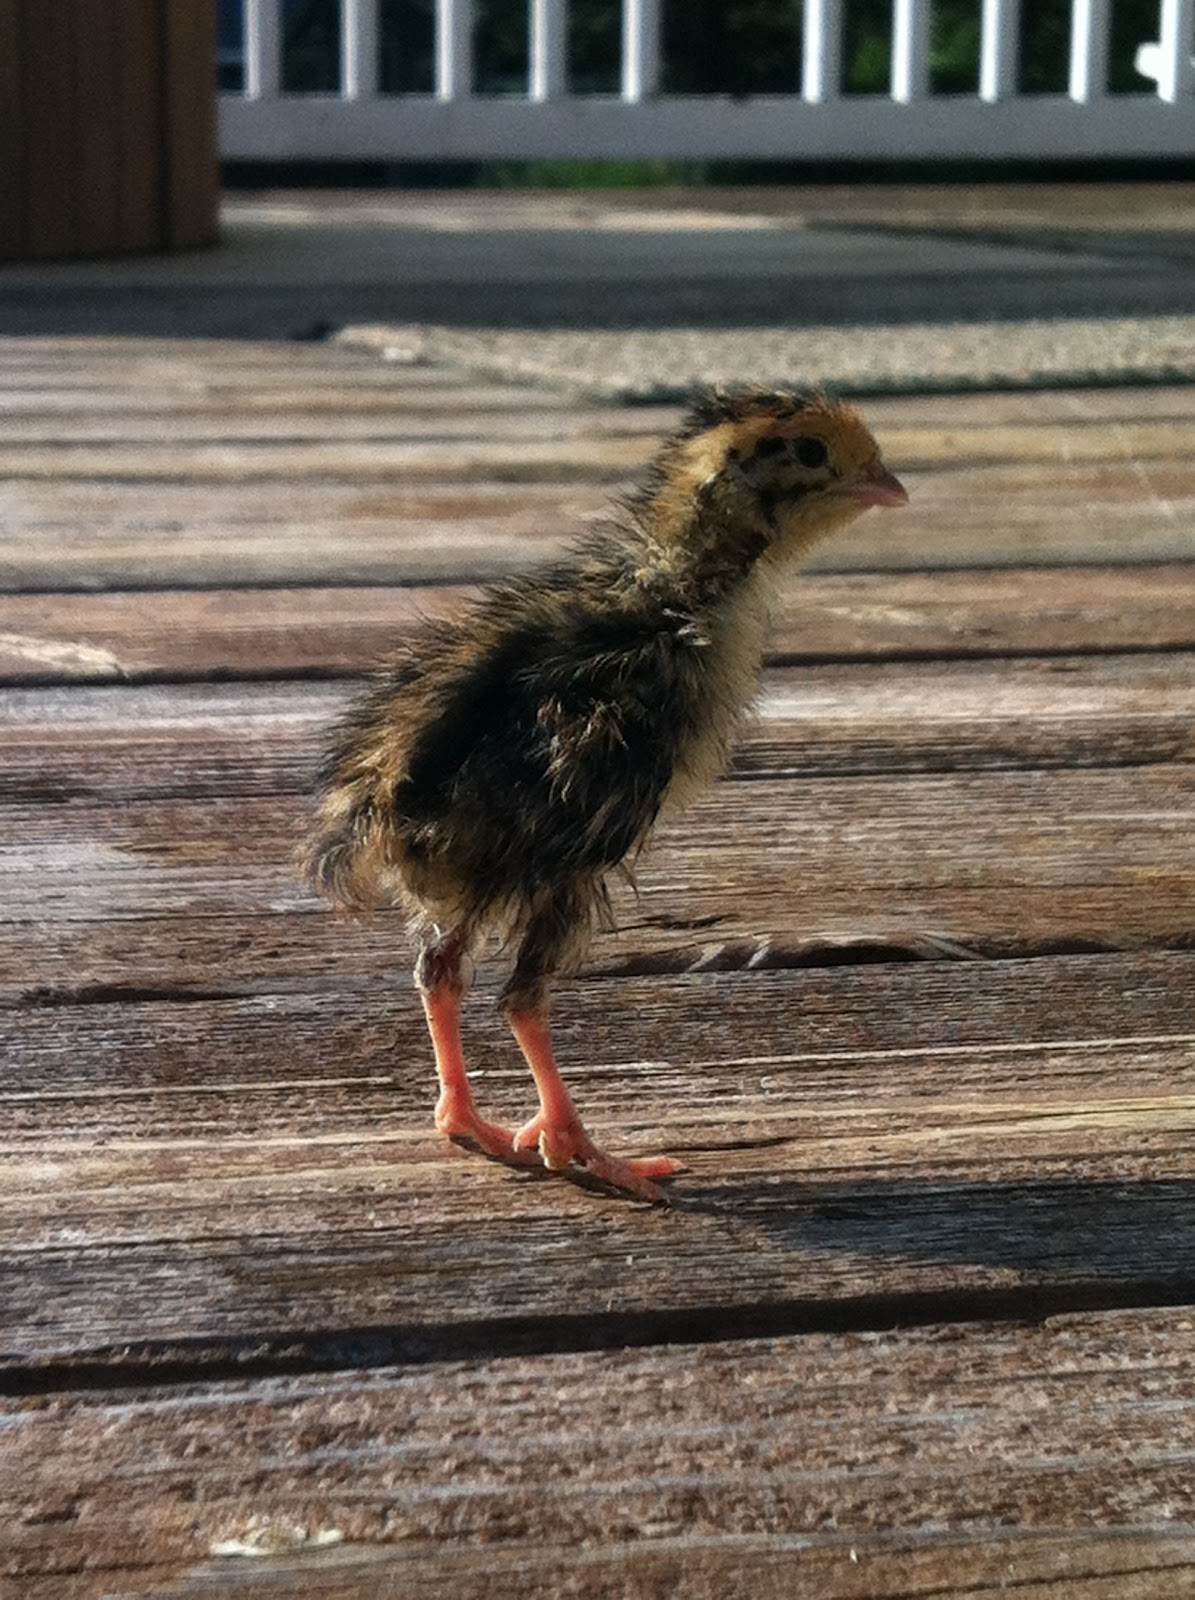 Step 1. Students will examine the photo of a 2 day old quail and discuss the following with their team members:
1) What was the most interesting part of this activity for you.
2) Each team member will then do a quick write in their science journal about their idea.
Quail Eggs
Step 2. Teacher passes out several new quail eggs to each group. Students will discuss with their group everything and anything they can think of about the quail eggs, including where the eggs came from. Also they will discuss anything learned about eggs and the differences between fertilized and non-fertilized eggs. After discussion, each student will sketch quail eggs in their journal and color if there is time.

Step 3. Students will re-read their journals to recall their initial reactions to the newly hatched quail chicks. They will then talk about how they feel about it now. Key words: smells, sights, sounds, touch


Step 4. The students decided to keep the empty egg shells and let them dry out and get sanitized and then they would try to create something artsy with the shells. It started out interestingly enough as they attempted to glue the egg shells to a picture frame, but they were extremely fragile and kept turning into dust. The students ended up putting them into the school compost bin. We talked as a large group about the disappointment and how we wanted to have a permanent photo in the frame. Oh well.

Step 5. Each student color coded their chick so they could monitor it until it went home to my barn. They at first tried to use a marker on their legs, but that was too difficult to see. They eventually put a dab of color on their chick's head and it lasted about 20 minutes as they all started pecking at the color and pulled it all off. They discussed different ways and threw out ideas like coloring the beaks, and settle on mini bands on the legs. The legs were too fragile and the students decided that they would endanger the chicks so we gave up on monitoring precisely. Each day for two weeks, chicks were weighed and measured and charts and graphs were everywhere to be seen. (I didn't get any pics of those and now those kids are in a differenct school!)

Step 6. Safety precautions
The students were required to research some safety issues and they re-lived their finest moment when they discovered that the chicks can drown in very little water. One of the students found that adding marbles to their water dish did two thing: 1) the colorful marbles drew the chicks to the water and 2) the chicks could escape the water by pushing against the marbles. This review casued them to re-live the early days when were all afraid they would not survive.


Step 7. A paper was due from each student describing the activity and highlights of the quail activity with a description of things learned and observed.

Recalling the field trips we took with the quail out to the playground was a lot of fun. Those quail can run pretty fast!

Here are their baby quail 6 weeks later. Some of them have already started laying eggs, thus bringing the circle back around.


.JPG)
.JPG)
.JPG)
.JPG)